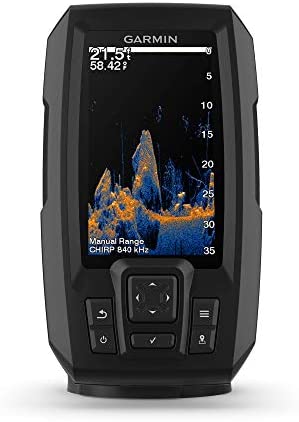
After spending countless weekends testing the Garmin Striker 4 on various waters - from my local bass lake to ice fishing in the dead of winter - I can confidently say this compact powerhouse surprised me in the best possible ways.
I remember my first time using it during a foggy morning bass hunt. What caught me off guard wasn't just its accuracy, but how it helped me distinguish between a school of crappie and a cluster of submerged branches - something my previous $400 unit struggled with. The image clarity is remarkable for its price point.
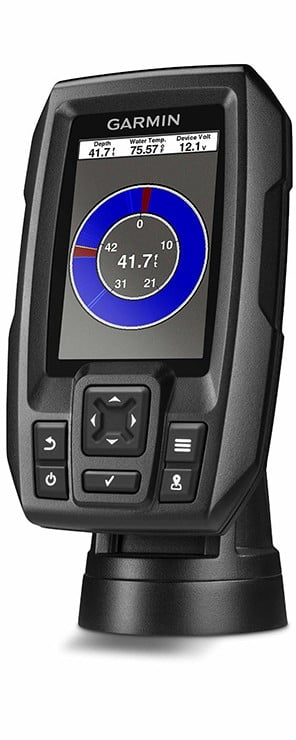
The flasher mode became my winter companion during ice fishing season. Last January, while fishing for walleye, I watched in real-time as my jig attracted a curious fish. Being able to adjust my presentation based on the fish's reaction was a game-changer. I actually landed three decent-sized walleye that day, all because I could see exactly how they were responding to my lure movements.
The GPS functionality saved my bacon during a particularly challenging day on Lake Shuswap. After discovering a productive spot yielding consistent catches, I marked it with a waypoint. Two weeks later, under completely different weather conditions, I returned to the exact same spot and - sure enough - the fish were still there. I've now built up a personal "honey hole" database of over 30 productive spots, complete with notes about depth, temperature, and seasonal patterns.
What really sets this unit apart is its dual-frequency capability. I've found the 200 kHz setting perfect for vertical fishing near structure, while the 77 kHz gives me a broader view when I'm searching for schools in open water. Often, I'll run both simultaneously in split-screen mode, especially when I'm exploring new areas.
The only real drawback I've encountered is the screen size. While perfectly readable in most conditions, there have been times during harsh midday sun when I wished for a larger display. However, the swivel mount helps compensate for this by allowing me to adjust the viewing angle to minimize glare.
Temperature readings have proven reliable, though I've learned they're most accurate when moving slowly. During one summer outing, I used this feature to track a thermocline that led me to a tremendous smallmouth bite.
For the price point, I honestly didn't expect such versatility. Whether I'm trolling for trout, ice fishing for walleye, or mapping new fishing spots, the Striker 4 has become an indispensable part of my fishing arsenal. It's not just a fish finder; it's like having a underwater GPS navigator and fishing journal all in one compact unit.
The best part? After a year of heavy use - including several accidental splashes and one drop onto the deck - it's still performing as reliably as day one. For anglers looking to step up their game without breaking the bank, this unit delivers far more value than its modest price tag suggests.
| Frequency | 2D Sonar: 200 kHz / 15° and 77 kHz / 45° |
|---|---|
| Transducer | 77/200 kHz CHIRP |
| Transmit Power | 200 W (RMS) |
| Screen | backlit, HVGA color |
| Screen Size | 3.5 |
| Resolution | 480H x 320V |
| GPS | Internal, High-precision |
| Maps Included | Not Available |
| Max Waypoints | 5,000 |